Always learning. That's me. I loved school as a kid and still enjoy it very much.I'm a graduate student, and I work at a college - I'm kind of surrounded, and I don't think I'd have it any other way. Lest you think I don't, I also learn plenty of stuff the hard way!
This week, I stumbled onto a series of posts over at Jeni's blog In Color Order about choosing colours/fabrics for a quilt with some stash development and organizing tips thrown in as a bonus. I've learned a little bit about colour in years gone by, but Jeni's lessons are really great for brand new quilters right through to those with plenty of experience. The main post is here, and following the links will take you to the various topics she covers. I learned some great stuff reading through all of her posts the past few days (ummm, kind of a work avoidance tactic, if you know what I mean).
One blog which never fails to inspire me is Film in the Fridge. I love her ideas, and her photos showcase her incredible talent so beautifully. It's pretty much a given that I'll "ohh" and "ahh" every time I visit her page. She has made several strip quilts, and posted the photos so we can admire them. I volunteered to make a baby quilt for a silent auction being put on by the Rotary club I belong to. I know I don't have a lot of time and when I saw a photo of one of Ashley's strip baby quilts, I knew I'd found the right project. This also gave me a chance to use one of Jeni's colour lesssons on how to choose your fabrics based around a single, focus print.
I very reluctantly tore myself away from my desk and dragged myself over to my stash (what I really mean is I skipped like a bunny immediately!) to see what I might have that would serve as an inspiration. I searched a bit and came up with an older Sandi Henderson print that I thought might work. Ashley discussed choosing the fabrics for her strip quilts (there are many! go see for yourself) and suggested choosing several prints that work together and throwing in a few solids for interest. Jeni suggests referencing those coloured dots on the selvedge as a way of pulling out the colours.
Although my husband would disagree on this point, I actually didn't find enough fabrics to pull from what I have on hand. In some cases, it is simply that I have a fat quarter instead of having a piece the full width of the fabric. There are other colours for which I don't have a large variety, thus limiting my choices.
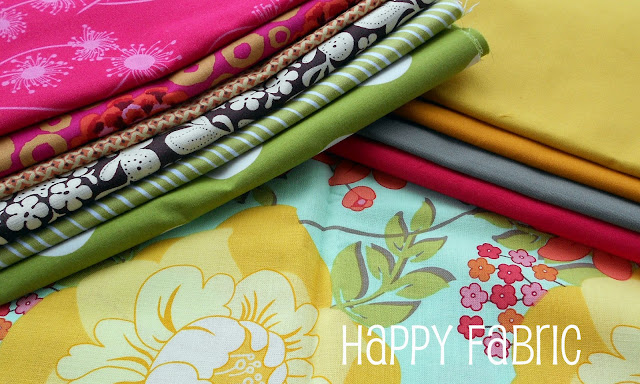
Here is what I came up with. At first, I separated the prints from the solids and stacked them on top of the inspiration fabric.
Hmm, I should have pressed that piece of my focus print! I didn't doubt that everything went together fairly well, but I was a bit "meh" about my composition. Then, inspiration struck, and I decided to lay out my stack in the same order as those coloured dots on the selvedge.
Rearranging the prints in that order really brings the scheme together,
don't you think?
As you can see, the stack of prints is lacking in yellow, light(er) pink, aqua, and the smoke colour. Looking at this photo, I'm almost certain I have a green and the salmon/terra cotta shade to add as solids, but no pink or aqua. In Canada, fabric is sold by the metre, and many shops will cut in .1 metre increments, which is about 4". Ashley says she uses strips anywhere from 1 1/4" to 6" wide so a few 4" x WOF pieces should do me just fine. I really want to be be mindful of my fabric spending, and work from my stash as much as possible, but I can find the budget for a few strips to supplement this stack. I am really looking forward to getting started on this project. We have snow on the ground today; this cheerful palette is a great antidote!
Much love to all the creative bloggers out there, and thank you, for continuing to share and inspire!
e.


Beautiful fabrics you've chosen! And you have a couple of great teachers there - they are sure inspiring aren't they?
ReplyDelete